Garmin Boat Switch Overview: Channels, Specs, and Adding Manual Switches
The switch panel build/repair guide covered the traditional route — breakers, rocker switches, tinned wire. This is the promised follow-up on the alternative: what the Garmin Boat Switch actually is, what it can and can’t do, and the one wiring detail that trips people up when they try to add a backup physical switch to a digital channel.
What it actually is
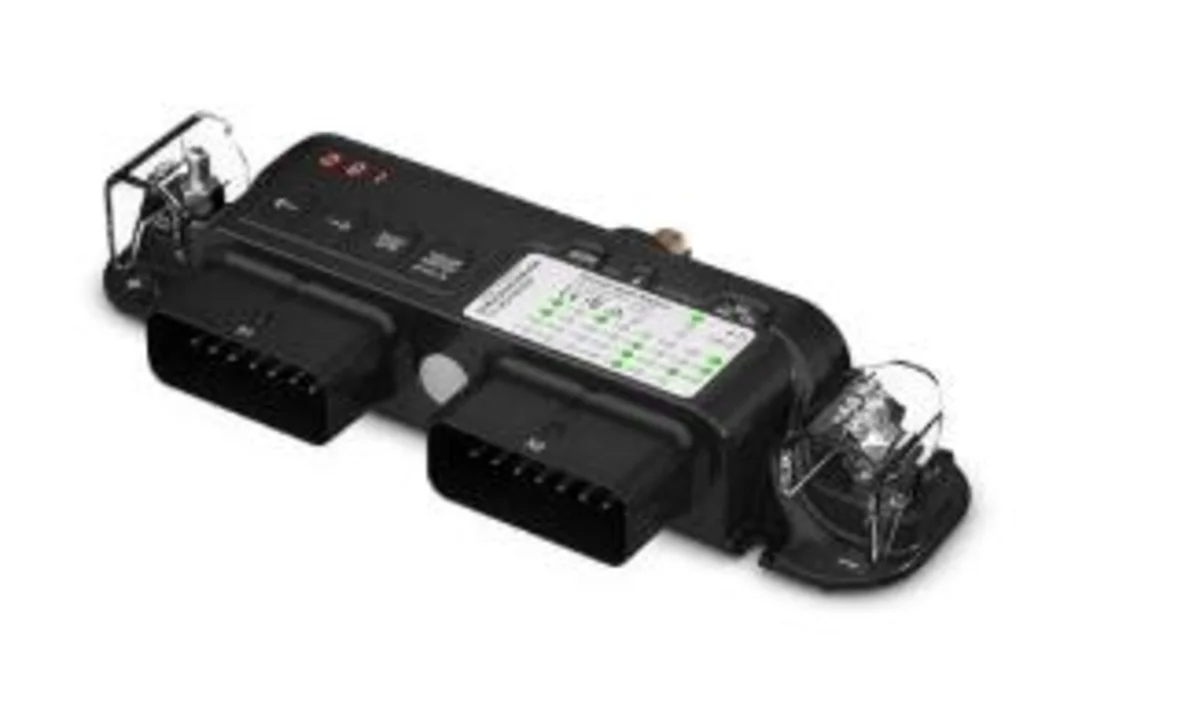
The Garmin Boat Switch (part number 010-02735-00, $999.99) is a single module that replaces a boat’s fuse box and physical switch panel with digital switching controlled from a compatible GPSMAP or ECHOMAP chartplotter over the boat’s NMEA 2000 network. Instead of running a dedicated wire from a panel switch to every device, you wire devices directly to the Boat Switch module itself, then turn them on and off by tapping the chartplotter screen — the module handles the actual switching and current-limiting in one box mounted wherever’s convenient, not at a console-front panel.
It’s a single unit, roughly 9” x 4” x 1.5” and IP65-rated, that mounts on a flat vertical surface with its two wiring harnesses pointing down. It draws its own power directly from the battery through a dedicated feed — it does not pull power from the NMEA 2000 bus itself — and only uses the network connection to talk to the chartplotter.
The 20 circuits, broken down
“20 circuits” isn’t a round marketing number — it’s the literal channel count split across two wiring harnesses (labeled X1 and X2), and the channels aren’t interchangeable. Each one is purpose-built:
Latching/toggle outputs (7 total, channels 1-5 and 9-10): standard on/off switching for things like courtesy lights, accessory circuits, and — critically — navigation and anchor lights, which get three different pre-built wiring configurations (covered in the setup and wiring guide) to satisfy COLREGS lighting requirements depending on how your boat’s nav lights are actually wired.
Dimmable outputs (5 total, channels 17-21): press-and-hold dimming from the chartplotter, with the light coming back on at whatever brightness it was last set to — useful for cabin or cockpit lighting where full brightness isn’t always what you want.
Momentary outputs (3 total, channels 25-27): press-and-release control for things like a horn, where you want the circuit live only while the button’s actually held.
Livewell channel (1, channel 11): has a built-in automatic cycle timer — runs the pump for one minute at an adjustable interval (1 to 15 minutes) to keep water moving without running the pump continuously, and can be bypassed to full-time run by holding the switch for three seconds.
Bilge pump manual channels (2, channels 12-13): these run bilge pumps under manual control from the chartplotter (press-and-hold for a 2-minute run, or hold longer for continuous), separate from the pump’s own automatic float-switch operation, which isn’t handled by this device at all — your automatic bilge circuit should stay wired the way the bilge pump buying guide describes, direct off the battery, independent of this system entirely.
Always-on channels (2, channels 28-29): unswitched constant power, for anything that needs to stay hot regardless of what the digital switching side is doing.
That’s 20 switched/powered channels. On top of those, the device also has monitoring-only inputs that don’t count against the 20: two bilge pump monitor inputs (channels 14-15, which watch an automatic pump’s own operation and alarm if it runs more than 2 minutes straight or cycles 5 times in an hour), two resistive and two voltage-based tank sender inputs (for up to four tanks — fuel, fresh water, gray water, black water, or livewell, individually configurable), and a start-battery voltage sense input. Total output capacity across all active channels combined is capped at 50 amps, so it’s sized for accessory and lighting loads, not for running a windlass or a big pump motor directly.
Digital control vs. a traditional panel
The pitch is straightforward: fewer dedicated wire runs (everything routes back to one module instead of a panel), software current limiting instead of physical breakers (the device uses “software fuses” per channel, resettable from the chartplotter or the device itself), and the ability to rename, relabel, and show/hide switches from the chartplotter software instead of relabeling physical switches by hand. It also folds in monitoring that a traditional panel doesn’t do on its own — tank levels, battery voltage, bilge pump cycle alarms — onto the same screen you’re already using to run electronics.
The tradeoff is the one already covered in the switch panel guide: digital switching adds a dependency on the chartplotter, the NMEA 2000 network, and the module itself all being powered and working. Garmin’s own installation manual for this device actually builds a workaround into the hardware for exactly that reason — more on that next.
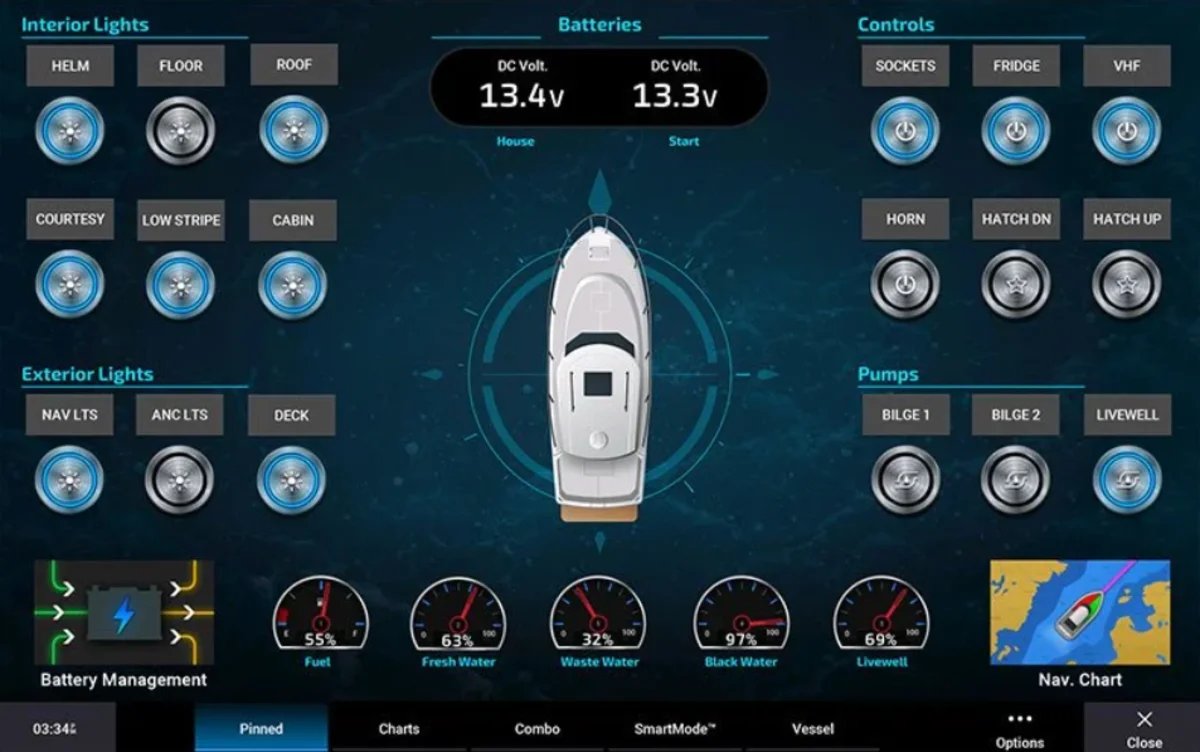
This is what that control screen actually looks like in use — every switched channel grouped and labeled (Interior Lights, Exterior Lights, Controls, Pumps), tank and battery gauges along the bottom, and a live boat position readout in the center. Every button on this screen maps back to one of the physical channels covered below.
Adding manual switches — where people get this wrong
This is the detail worth knowing before buying one. The Boat Switch module has physical hard keys built into the unit itself, and every channel can be manually activated or deactivated directly on the device with no chartplotter connection required — which is why Garmin’s install manual insists the unit be mounted somewhere accessible, not buried behind a panel where you’d need to pull it out to reach it. Manually operating a channel this way overrides the chartplotter’s digital switching for that channel until you manually reset it on the device.
Separately, the wiring harnesses include dedicated breakout wires specifically meant for wiring in your own physical remote switch on select channels — nav lights, general toggles, dimmers, momentary outputs, the livewell pump, and both bilge manual channels all have an optional breakout wire for this. But there’s a hard rule buried in the install manual that’s easy to miss: only momentary switches are supported on these breakout inputs. Wiring in a physical latching or toggle switch instead of a momentary one doesn’t just fail to work right — it overrides the module and disables digital switching on that channel through the chartplotter entirely, according to Garmin’s own documentation. If you want a remote physical backup button for a digital channel, it has to be a momentary push-button, not a rocker or toggle switch, full stop.
Between the on-device hard keys and the momentary-switch breakout wires, there are two legitimate ways to operate a channel without the chartplotter — but neither one is “just wire up a normal switch as a backup,” which is the assumption worth correcting before you plan an install around it.
If you want real physical buttons: that’s a different Garmin product
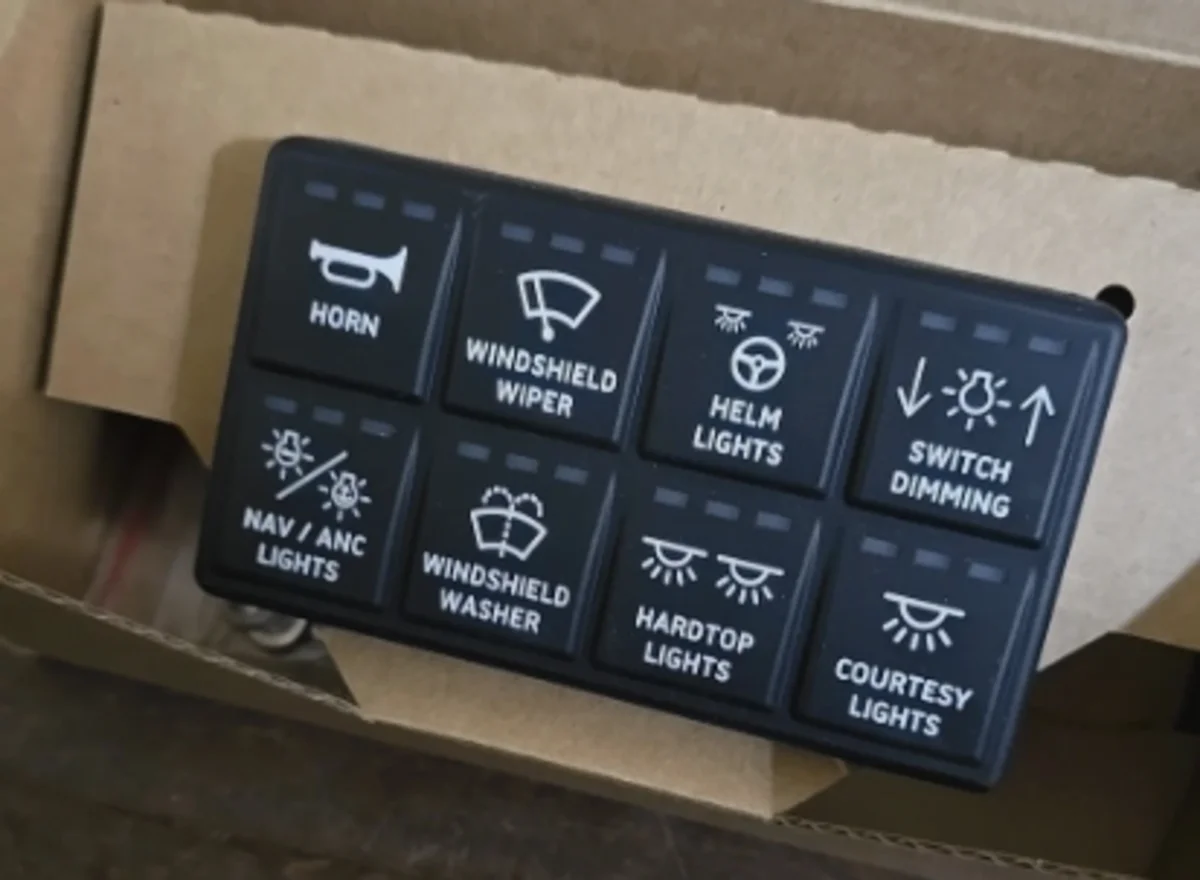
Worth knowing before assuming the Boat Switch itself needs a bolt-on panel for quick physical access: Garmin sells purpose-built physical switch panels — the SP8 (8-way) and SP12 (10 or 12-way) pictured above — but they belong to EmpirBus, Garmin’s separate, larger-scale digital switching platform built around its own MCU processor, not to the standalone Boat Switch device covered in this guide. An EmpirBus setup gives you exactly the “quick access, real buttons” experience some installers want instead of a touchscreen-only interface, with the panel still reporting into a digital network rather than running dedicated point-to-point wiring — but it requires the EmpirBus MCU and its own network, and it’s a different buy than the $999.99 Boat Switch module. If genuinely tactile, labeled buttons matter more to you than a chartplotter touchscreen, it’s worth pricing out EmpirBus with an SP8 or SP12 panel instead of the Boat Switch — not as an accessory to add onto it.
Who this actually makes sense for
A boat already running a compatible GPSMAP or ECHOMAP chartplotter on an NMEA 2000 network, with an owner who wants tank and battery monitoring folded into the same screen and doesn’t mind a $999.99 module plus professional-grade install, is the target buyer. A boat without a compatible Garmin chartplotter already installed, or an owner who just needs a handful of accessory circuits without touching the whole electrical architecture, is generally better served by the traditional panel build covered in the switch panel guide — it’s cheaper, doesn’t require chartplotter compatibility, and every circuit still works exactly the same way if a screen ever dies.
CZone, mentioned briefly in that same guide, is the other established digital switching option and worth comparing against this one if you’re not already committed to the Garmin ecosystem specifically — it’s more modular and brand-agnostic, at the cost of being a bit more involved to spec out.
Bottom line
The Garmin Boat Switch is 20 real, purpose-typed circuits (not 20 generic on/off channels), built-in tank and battery monitoring, and genuine reduction in wire runs — for boats already in the Garmin chartplotter ecosystem. The one thing worth knowing going in: any physical backup switch wired to it has to be momentary, not latching, or it disables the digital side of that channel entirely. The setup and wiring guide covers the actual install — mounting, power wiring, the full X1/X2 harness breakdown, and chartplotter configuration.
This article may contain affiliate links. If you buy through them, we may earn a small commission at no extra cost to you. Learn more.